|
Projects with Old Ceiling Tin
Follow me on Social Media
Shop My Treasures Here
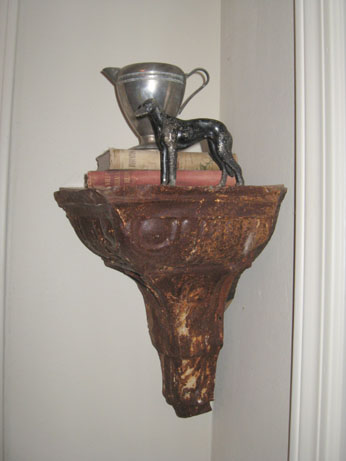
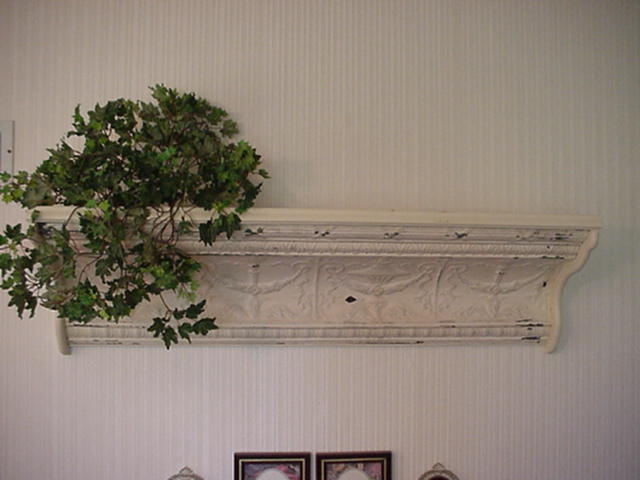
Corner Wall Shelf by Margo
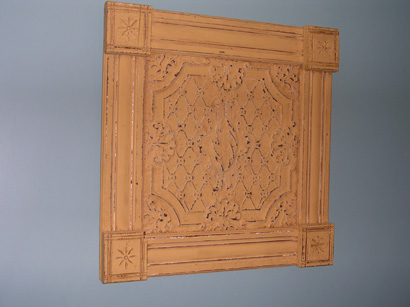
Ceiling tin as an insert
To dress up any old table just add some old ceiling tin. *******************
Crafty Ladee shows her great Ceiling Tin Shelf. Notice how she finished off the sides and top. Nice Touch.
******************* I love this picture from Tina56. The birdhouse uses several reclaimed Items. I see the tin roof, and an old door knob, Old gingerbread, and spindle for the stand. What great projects.
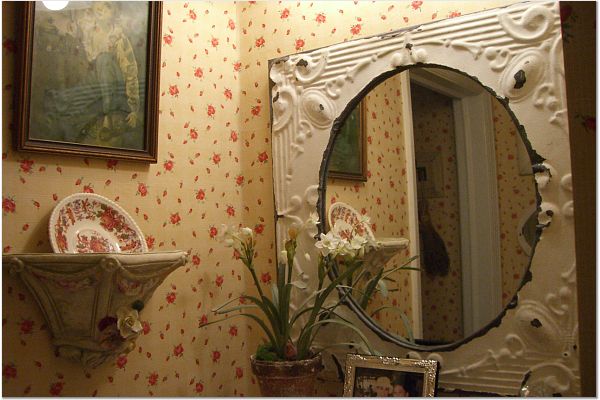
This is also from Tina. I'm not exactly sure how to cut the hole, but if you could get that done the rest would be easy. Just attach a mirror behind, and hang it on the wall.
******************* Ceiling Tin Art Karinlynne on HGTV Board submits this project
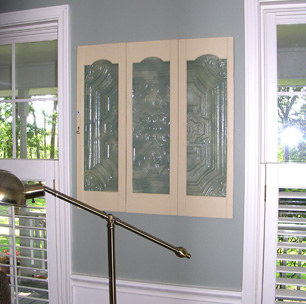
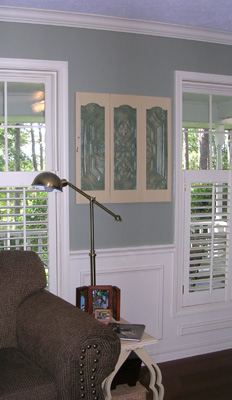
She Writes: "I took an old tin ceiling panel and purchased 4"x 4" blank canvases (the dimension of the design in the tile). I painted the 6 panels 3 colors to match my bedding and wall colors. I stenciled designs on them in the other colors of the canvases. I attached the canvases with Quake Hold so as not to destroy the rusty tin patina. We put it on the wall with mirror clips and it came out perfectly." ******************* Tin Ceiling panels behind old shutters
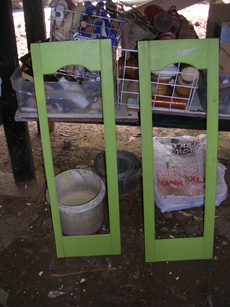
For this project, I simply took these shutters What did I do with the other shutter? See below. 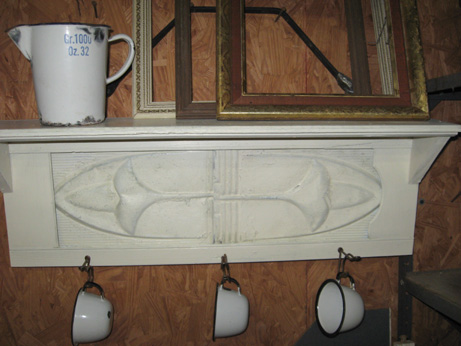
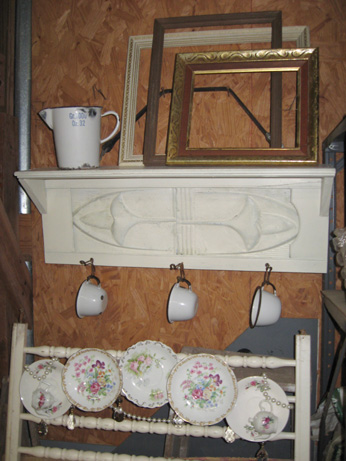 For this project I took an old shutter that was missing it's insert, I added some old ceiling tin in behind it, and some old trim for a top shelf. I painted it all to match and then distressed it with some sanding. Then I added some recycled hooks to finish it off. 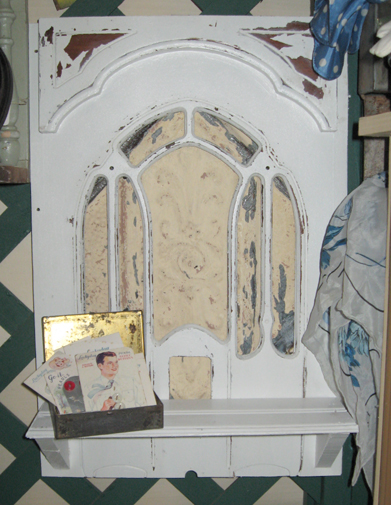
This was the front of an old radio. I painted it, added a shelf, and put an old piece of ceiling tin behind it. I was stumped for awhile as to what to put behind it. I thought of stained glass, but couldn't decide on what color, then I thought of lace, or velum. I finally decided on the tin and I think it's perfect.
*******************
 Instructions for Ceiling Tin Shelf
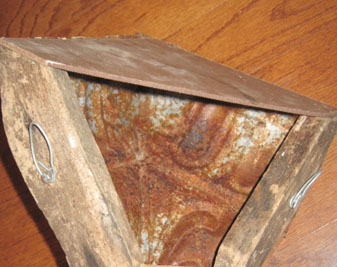
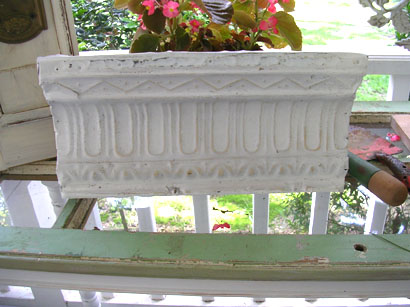
Here's how to make a shelf from an old piece of Ceiling Tin.
First you need to get a piece that was formerly part of a tin
crown molding. These can be found at flea markets, junk shops etc.
I paid $10 for a piece and was able to make 2 shelves and 2 small brackets.
The method for shelves and brackets is the same.
The piece of tin will look like this:
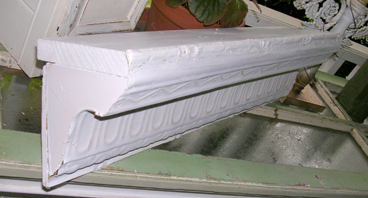
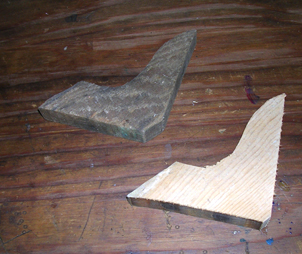
Then cut 2 pieces of scrap wood, into this shape. Use the curves of the
tin to get your exact cut:
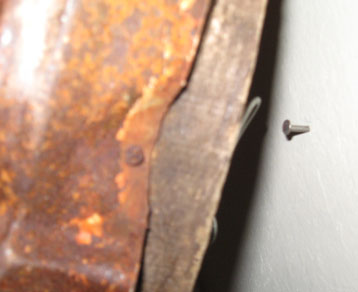
Then Nail the tin to the side pieces
Attach the shelf to the top, Use a piece of scrap wood,
and cut it to the length and depth that the tin allows. Then nail it to the top of the end pieces,
and then bend the tin up to meet the wooden shelf using a hammer. Then Nail it to the
top shelf piece. You'll have some tin left hanging off the bottom. Use a hammer to bend this tin backwards behind the shelf and nail it down. Paint, and distress and you are done.
The process is the same for a longer shelf
|